Re-”Makering” Your Life
Re-“Makering” Your Life
7/14/2017
I had a great chat yesterday with the new Makers Academy remote cohort, discussing feeling inadequate, strategies for learning, how soon to send a CV to employers, and myriad other topics. This morning I found myself reflecting on how I used Makers not just to learn to code but to reset my life.
A bit of background: my previous job was as a professional violinist. I was doing a lot of international touring, working as a freelancer. This was stressful because of the constant travel (between November 2016 — January 2017 I was in ten countries on 3 continents), the uncertainty of a freelance income, and the inability to plan downtime.
The intense experience of Makers forced me to look at my life and understand where I received sustenance; to make sure I was getting enough sleep; to develop patterns that made me a good coder but also a joyful human being. So I decided to seize the opportunity to use my Makers experience to set healthier boundaries between my work and personal life.

Here are six things I did that helped transform my life:
1. Resist peer pressure to overwork
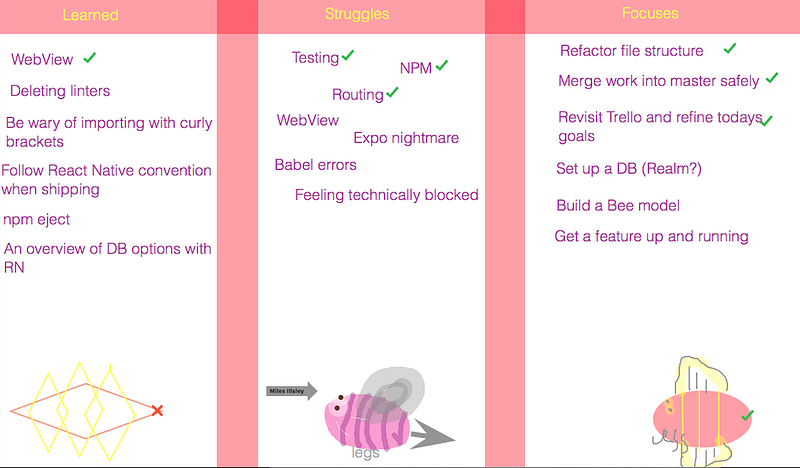
I remember vividly coming back from a five-minute pomodoro break and asking my pair how his break had been. He said, ‘Oh it wasn’t much of a break — I spent the time researching.’ I’d gone into the garden and smelled some flowers. Guess which of us was better prepared for work? As the course went on, my cohort challenged each other to take healthier breaks: play music, take photos of bees, read Stack Overflow’s programmer jokes page.

2. Ask yourself what’s the best thing you can do for your learning
For me on the course, if it was during lunch or after 6pm, the answers included:
- Go to the gym
- Take a walk
- Call my friends/family
- Go to the pub
- Read some fluffy fiction
- Colouring-in
Only on two days during the course, both at the final project, did I do any code in the evening. And to be honest, one of those nights I was just sitting watching my teammate code because I wanted to be social.
And one memorable morning my pair and I were too knackered to do the diagram workshop, so we did a hip-hop Bollywood dance workout instead.
The answer to this question will be unique for everyone but it’s really important to ask it and understand that the answer may very well not be ‘write more code’!
3. Don’t compare yourself
Rather than looking at what the other people in the course have done, ask yourself these two crucial questions:
- Am I a better developer than I was yesterday?
- Am I having fun?
If the answer to those questions is ‘yes’, then you are doing just fine.
A great way of being able to figure out the answer to those questions is to use the pomodoro technique and at the end of each pomo, write down what you did. You will be surprised and happy to realise how much you’ve learned, even as you’re struggling and frustrated.

4. Ask your coach or Dana if you’re worried about your progress
One of the most difficult things for me, especially at the beginning of the course, was not having much awareness about what I didn’t know and how I was progressing. Was I learning enough, not enough, pushing myself too hard? It’s impossible to know this as a newbie coder, but as adult beginners we are keenly aware of a vast skills chasm.
So talk to your coach if you want to find out how you’re doing — but be warned, have specific ideas (i.e., I struggle with ‘attr_readers’ and ‘instantiating objects’). The act of having that conversation with yourself is in fact a really valuable part of learning, reducing the terror from ‘Oh my god, I don’t know anything’ to ‘Here are three specific things I don’t know and can I get some help learning them’.
If you’ve done that and you’re still full of anxiety, talk to Dana. She will help — and not by patting you on the head and saying you’re great but actually by helping you discover these thoughts that are tearing you down and realising that the reality is a lot kinder.
5. Be kind to yourself
I can’t say enough how brave you are for doing the Makers course. Taking three months off work is difficult! You will struggle. You will be frustrated. But that’s such a good thing — it means you are being stretched, that you’re growing. Lots of people talk about making big changes in their lives, but you’ve actually had the courage to go for it. Remember that, and be proud of yourself when the going gets rough.

6. Ask yourself what’s the bravest thing you can do in that moment
Maybe it’s meditating instead of smoking. Maybe it’s shutting off the computer and reaching out to a friend. Maybe it’s admitting your vulnerability. Maybe it’s asking the ‘dumb’ question that’s actually on everybody’s minds. Maybe it is writing more code! The answer will look different for everyone, and will change frequently. And if you’re really comfortable with your pair, you can ask them this question too.
And if you feel like sharing, tweet me at @FiddlersCode with #BraveMakers and let’s all celebrate these moments!